
Polishing wood like a pro starts with gathering the right materials: high-quality polish, a soft cloth, fine-grade steel wool, and cleaning tools. Prepare the surface by cleaning it thoroughly, sanding any rough spots, and ensuring it's dust-free. Apply a suitable polish for your wood type, focusing on small sections with even coats and in the direction of the grain. Buff the wood with a microfiber cloth using circular motions to enhance shine, or employ an electric buffer for larger pieces. Finally, maintain your wood's finish with regular cleaning and cautious reapplication of wax. Uncover additional details and techniques for ideal results.
Gather Your Materials
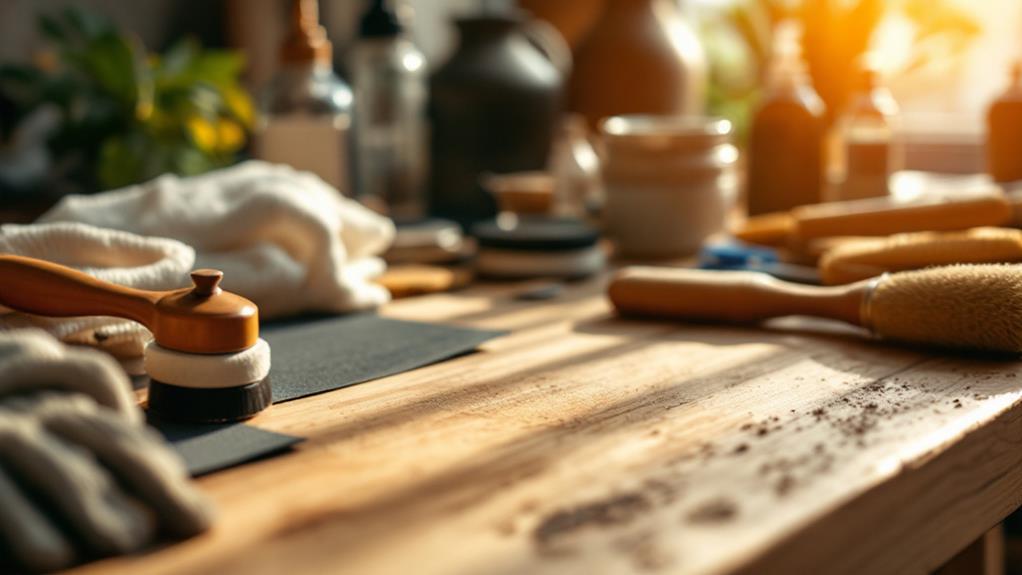
Before you plunge into wood polishing, gathering the right materials guarantees a smooth and efficient process.
Start by selecting a high-quality wood polish. Look for a product containing natural oils and waxes, as these ingredients enhance the wood's natural shine and provide a protective layer.
You'll also need a soft, lint-free cloth, preferably made of microfiber, to apply the polish without scratching the surface.
Consider using fine-grade steel wool or a sanding sponge for any rough patches, helping to even out the wood's texture before applying polish. A clean, dry brush can assist in removing any dust or debris from the wood, ensuring a clean starting point.
For edges and hard-to-reach areas, cotton swabs or small detailing brushes can prove invaluable. If you're dealing with intricate carvings or detailed woodwork, these tools will help apply polish precisely.
Additionally, keep a pair of gloves handy to protect your hands from any harsh chemicals and maintain a steady grip on materials.
With these items at your disposal, you're well-equipped to begin the wood polishing process effectively and achieve professional-grade results.
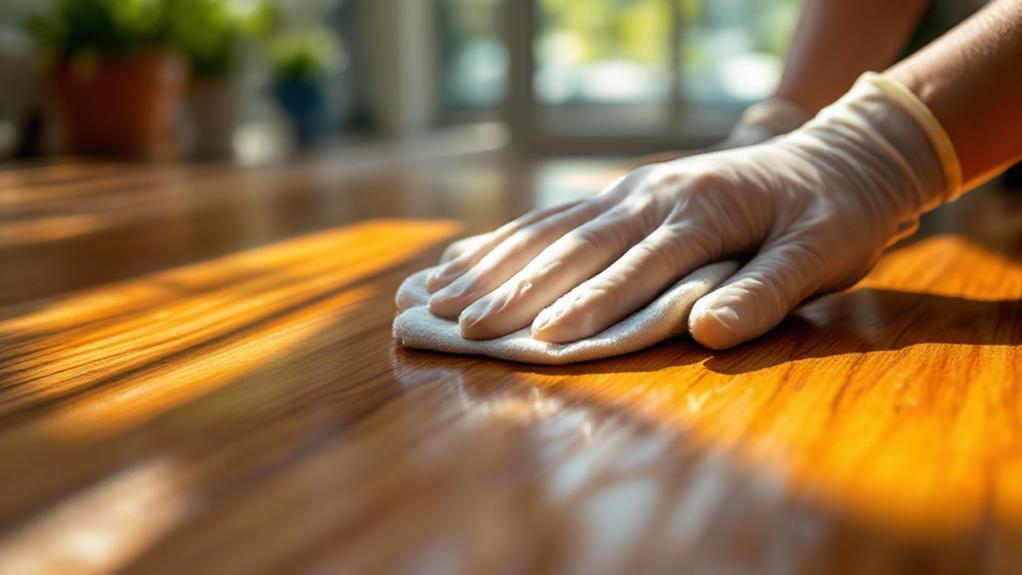
Prepare the Surface
Now that you've gathered your materials, focus on preparing the surface for polishing. Start by evaluating the wood's condition. If there are any old finishes or grime, you'll need to clean these off to guarantee a smooth polish. Use a damp cloth with mild soap to wipe the surface, removing dust and dirt. Avoid soaking the wood, as excess moisture can cause damage.
For stubborn stains, consider using a gentle wood cleaner, following the manufacturer's instructions closely.
After cleaning, inspect the surface for any dents or scratches. Sanding may be necessary to create an even surface. Use fine-grit sandpaper, moving in the direction of the wood grain, to avoid scratches. When sanding, apply even pressure, and make sure that all rough spots are smoothed out. This step is vital to achieve a professional finish, as uneven surfaces can result in poor polish application.
Once sanding is complete, remove all dust particles using a tack cloth. This sticky fabric effectively picks up dust without leaving residue. Making certain a dust-free surface is essential, as even tiny particles can mar the final polished look.
With the surface prepped, you're ready for the next step.
Apply the Polish
To achieve a beautiful finish, you'll need to choose the right polish for your wood type. There are various polishes available, each catering to specific wood characteristics.
For hardwoods like oak or walnut, a heavier wax or oil-based polish is ideal, as it penetrates deeply and enhances the grain. For softer woods like pine, a lighter, silicone-based polish might be more suitable, providing a gentle sheen without overwhelming the wood.
Before applying, verify that the wood is clean and dry. Use a clean, soft cloth or applicator to apply the polish. It's essential to work in small sections, applying the polish in a thin, even coat.
Move in the direction of the wood grain to avoid streaks and guarantee even coverage. Avoid over-saturating the wood, as excess polish can lead to a sticky surface.
Allow the polish to sit for the recommended time, usually indicated on the product label. This allows the oils or waxes to absorb properly.
During this period, the polish works to nourish and protect the wood, enhancing its natural luster. Once the time has passed, you're ready for the next step in achieving a professional finish.
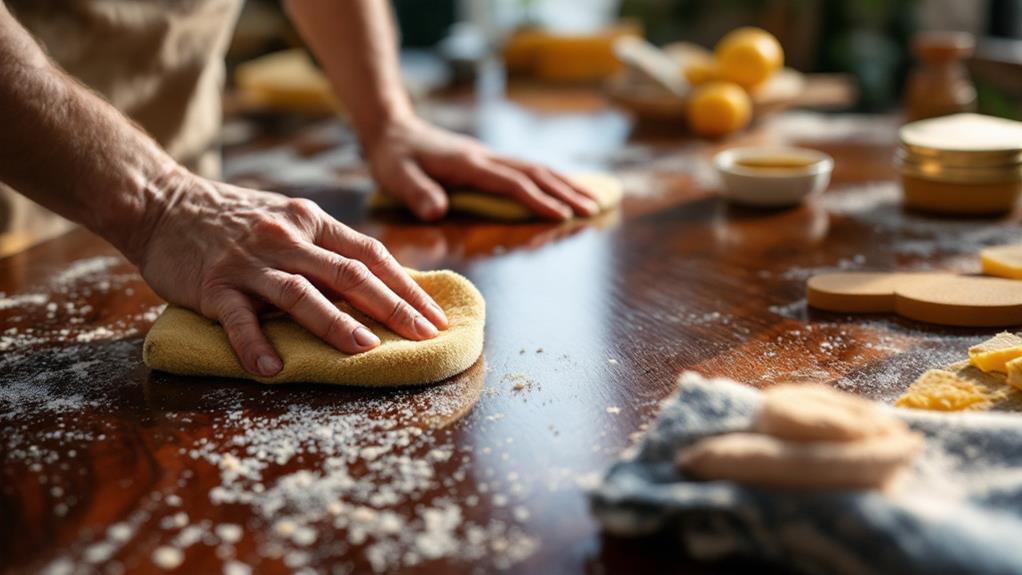
Buff for Shine
With the polish properly absorbed, it's time to buff the wood to reveal its shine.
Begin by selecting a clean, soft cloth, preferably microfiber, as it minimizes scratches and effectively enhances the wood's luster. Work in small sections, using circular motions to guarantee even coverage and maximum shine. This technique helps distribute any excess polish and removes potential streaks, resulting in a smooth, glossy finish.
Buffing requires moderate pressure—enough to activate the polish but not so much that you risk damaging the wood's surface. As you work, observe the wood's appearance; if it seems dull, continue buffing until the desired shine emerges. It's crucial to maintain a consistent motion, which aids in achieving a uniform gleam across the entire surface.
For larger pieces, consider using an electric buffer, which can expedite the process while offering consistent results. However, verify the machine's speed is appropriate for the wood type to prevent overheating or unwanted friction.
Regularly check your progress, adjusting technique as needed, to confirm the wood achieves its ideal brilliance. With patience and attention to detail, your furniture will exhibit a professional-level sparkle.
Maintain the Finish
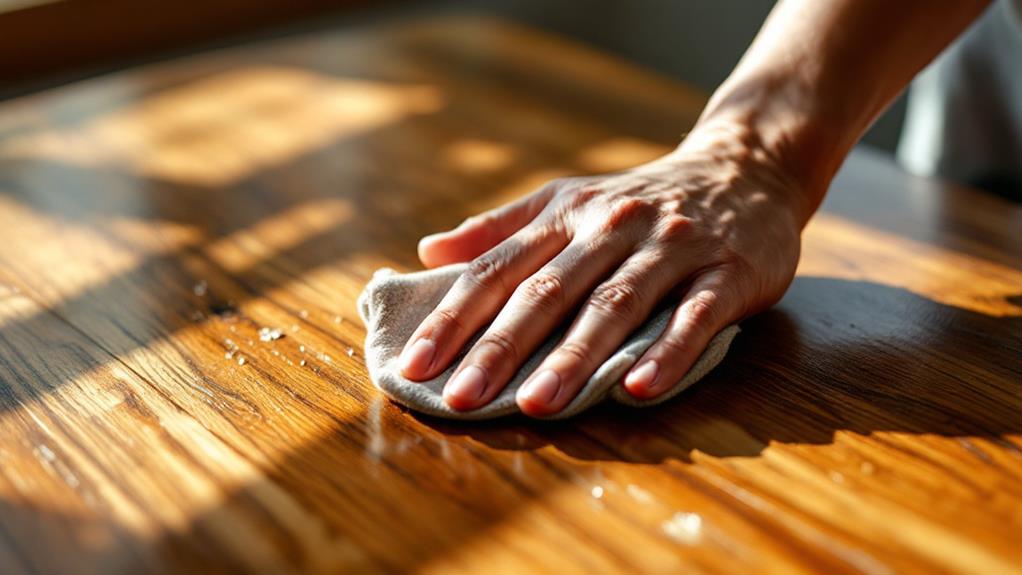
Even after achieving a stunning shine, keeping the wood finish pristine requires ongoing care and attention. Regular maintenance not only preserves the wood's appearance but also prolongs its life.
To maintain your wood finish, start by dusting the surface weekly with a soft, lint-free cloth. This prevents dust and dirt from scratching the finish. Use a gentle motion, avoiding any harsh scrubbing that might damage the polish.
In addition to dusting, you'll want to clean the wood with a suitable wood cleaner every few months. Choose a product specifically designed for wood surfaces, as harsh chemicals can strip the finish. Apply the cleaner with a damp cloth, ensuring it's not overly wet, which can lead to water damage. Follow the wood grain while cleaning to achieve the best results.
To further protect the finish, consider applying a layer of wax or polish every six months. This adds a protective barrier against moisture and scratches, keeping the wood looking vibrant. Always test any new product on a small, inconspicuous area first.