
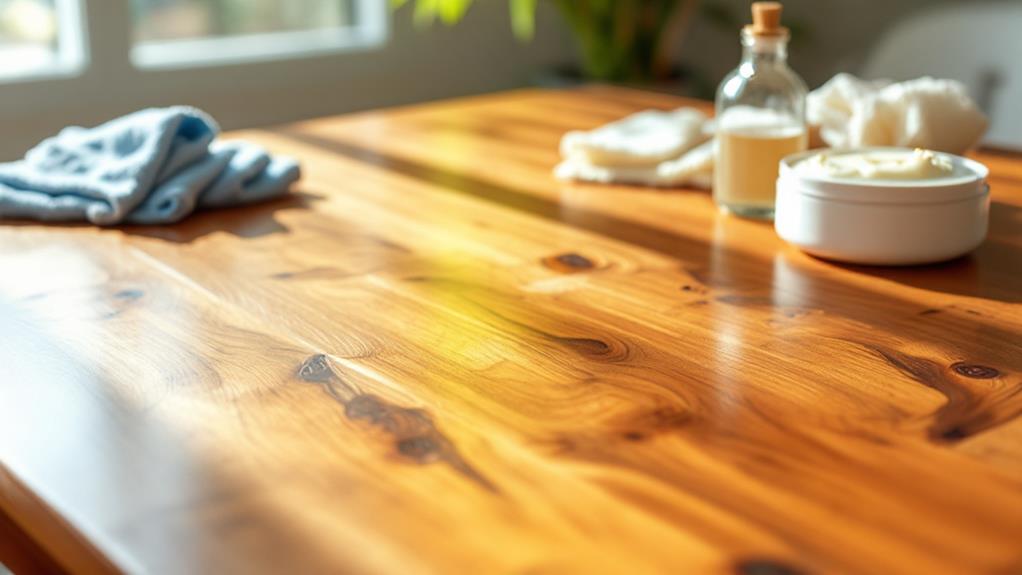
To polish your wood table to a dazzling shine, start by gathering essential supplies: high-quality wood polish, a soft microfiber cloth, and cotton swabs for detailed areas. Clear the table of clutter, remove dust with your cloth, and inspect for damage. Smooth minor imperfections with fine-grit sandpaper. Apply wood polish by pouring it onto the cloth, not directly on the table, using gentle circular motions. Buff the table using a clean cloth with moderate pressure, ensuring even polish distribution. Finally, inspect under good lighting for uneven spots and touch up as needed. This method enhances and preserves your table's beauty.
Gather Your Supplies
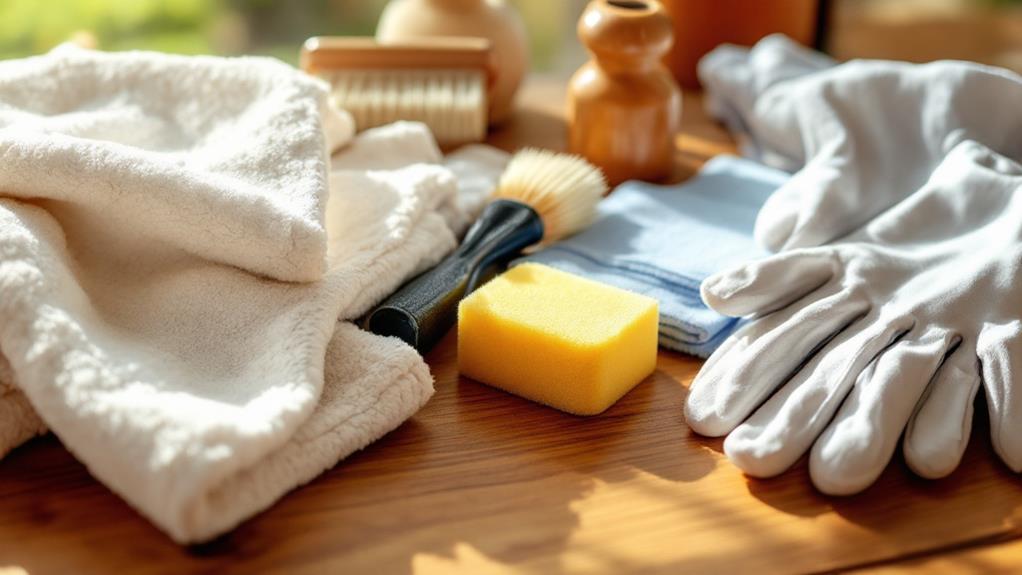
Before you immerse yourself in polishing your wood table, gather all the necessary supplies to guarantee a seamless process.
Start with a high-quality wood polish, specifically designed for your table's finish, to enhance its natural shine. You'll need a soft, lint-free cloth, such as microfiber, which won't scratch the surface during application. Consider using a clean, dry cloth for buffing, ensuring a smooth, streak-free finish.
Next, have a small bucket or bowl of warm water ready. This will be used for dampening your cloth if necessary, helping to remove any initial dust or grime. You may also require a mild dish soap if your table needs a gentle clean beforehand.
Don't forget a few cotton swabs for detailed areas like intricate carvings or joints, ensuring every inch of your table receives proper attention.
Keep some paper towels on hand to address any spills or excess polish swiftly. A pair of gloves will protect your hands from chemicals in the polish, maintaining safety throughout the process.
Having these supplies organized and accessible will streamline your polishing efforts, resulting in a beautifully restored wood table.
Prepare the Surface
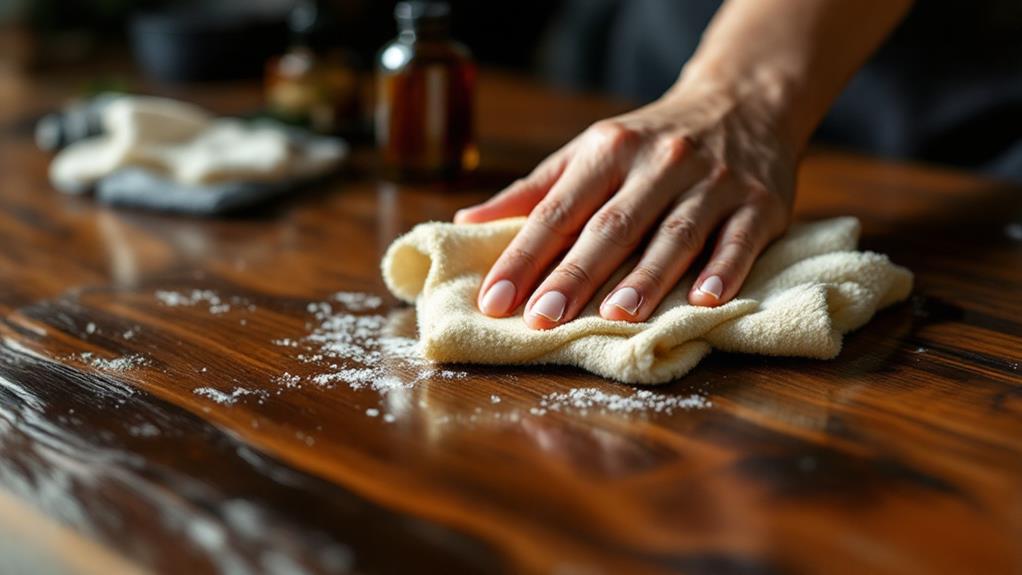
To prepare the surface of your wood table for polishing, start by clearing it of any items or clutter. This guarantees nothing obstructs your work and allows you to fully assess the table's condition.
Once cleared, use a soft microfiber cloth to gently remove dust and loose particles. This step is essential because dust can scratch the wood surface during polishing. If the table has stubborn dirt or sticky residue, slightly dampen the cloth with water, then wipe the surface. Be cautious not to over-wet the cloth, as excess moisture can damage the wood finish.
Next, inspect the table for any visible damage like scratches, dents, or chips. Identifying these areas early helps determine if they'll need additional attention before polishing.
If necessary, consider using fine-grit sandpaper to smooth out minor imperfections, guaranteeing you sand lightly along the wood grain to avoid further damage.
Apply the Polish
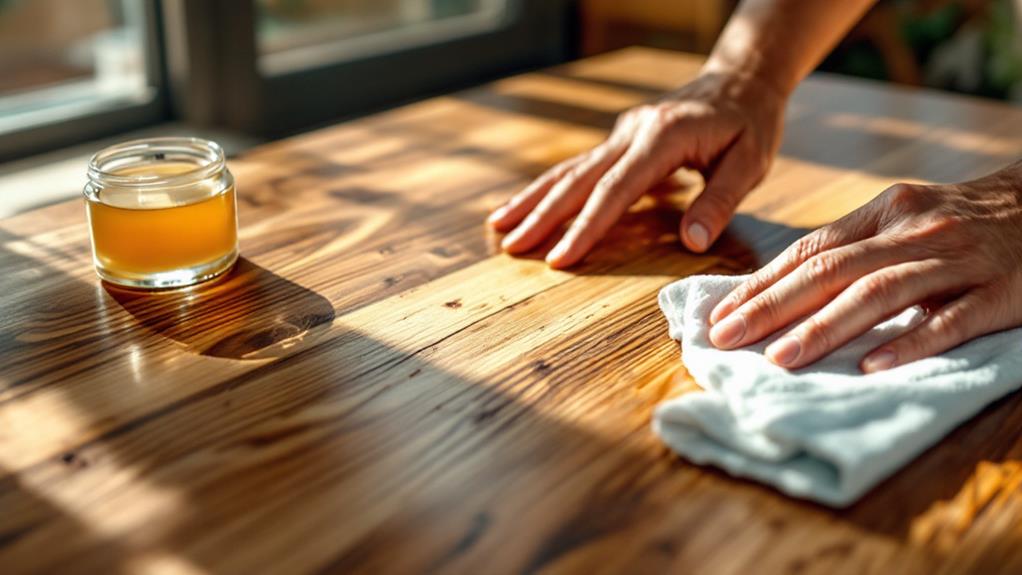
Once the surface is prepared, it's time to apply the polish to your wood table. Begin by choosing a high-quality wood polish suitable for your table's finish. Liquid polishes are ideal for a quick shine, while paste polishes offer a more durable layer of protection.
Confirm that you have a clean, lint-free cloth or a microfiber cloth, as these materials minimize the risk of scratching the surface.
Pour a small amount of polish onto the cloth, not directly onto the table, to control the amount being used. Start at one corner of the table, working in small sections to confirm even coverage. Use gentle, circular motions to rub the polish into the wood, allowing it to penetrate the surface.
This technique helps distribute the polish uniformly, enhancing the table's natural grain and color. Pay attention to areas that might require more polish, like spots that look dull or worn. Avoid over-applying, which can create a sticky residue.
If needed, apply a second, light coat after the first has settled. Following these guidelines confirms your table receives an even, gleaming finish, ready for the next step.
Buff the Table
With the polish applied, it's time to move on to buffing your wood table for that perfect, gleaming finish. Buffing enhances the table's appearance by smoothing out the polish, guaranteeing an even and radiant sheen.
Use a clean, soft cloth, preferably microfiber or cotton, as these materials won't scratch the surface. Begin by folding the cloth into a manageable size, allowing for consistent pressure during buffing.
To start, apply moderate pressure, moving the cloth in circular motions across the table's surface. This technique helps distribute the polish evenly, filling any minor imperfections and creating a uniform look. Continue buffing until the surface feels smooth and begins to shine. This process not only enhances the table's aesthetic appeal but also protects the wood by sealing the polish.
It's important to periodically check the cloth for any buildup of polish, rotating or refolding it as needed to maintain effectiveness. A clean cloth ensures that you're not redistributing excess polish, which could dull the finish.
Depending on the wood type and polish used, you may need to adjust your pressure or buffing duration, guaranteeing the table achieves the desired level of shine without damaging the wood.
Inspect and Touch Up
After buffing your wood table, it's important to inspect the surface for any missed spots or imperfections.
Start by examining the table under good lighting. This helps you detect uneven polish distribution or small scratches that might need attention. Look for areas where the sheen differs, as this indicates uneven application of polish. You should also check for any remaining dust or polish residue, which can dull the finish over time.
Once you've identified areas needing touch-ups, take a soft cloth and apply a small amount of polish to those spots. Use a circular motion to blend the new polish with the surrounding area, guaranteeing a consistent finish.
If you notice any scratches, consider using a wood repair marker or a matching wax crayon to fill them in. These tools are designed to blend in seamlessly with the wood grain, minimizing visibility.
Completing this inspection and touch-up process guarantees your wood table looks its best, maintaining its shine and smooth surface.
Regular inspection not only keeps your table aesthetically pleasing but also extends its lifespan by preventing minor issues from becoming significant problems.