
To achieve a flawless wood finish, follow these three essential steps. First, prepare the surface by cleaning thoroughly, checking for imperfections, and sanding with varying grits. Remove fine dust with a tack cloth. Next, apply the polish—choose oil-based for bare wood or water-based for finished surfaces—and use a lint-free cloth, guaranteeing thin, even coats by applying in circular motions. Let each coat dry completely. Finally, buff to perfection using a soft cloth, maintaining light to moderate pressure and following the wood grain to enhance its natural beauty. This structured process guarantees an impeccable finish, revealing further insights can enhance your results.
Preparing the Surface
Before you begin polishing wood, it's important to focus on preparing the surface to guarantee the best results. Start by cleaning the wood thoroughly, removing dust, dirt, or old polish remnants. Use a soft cloth or vacuum with an appropriate attachment to make sure the surface is free from debris.
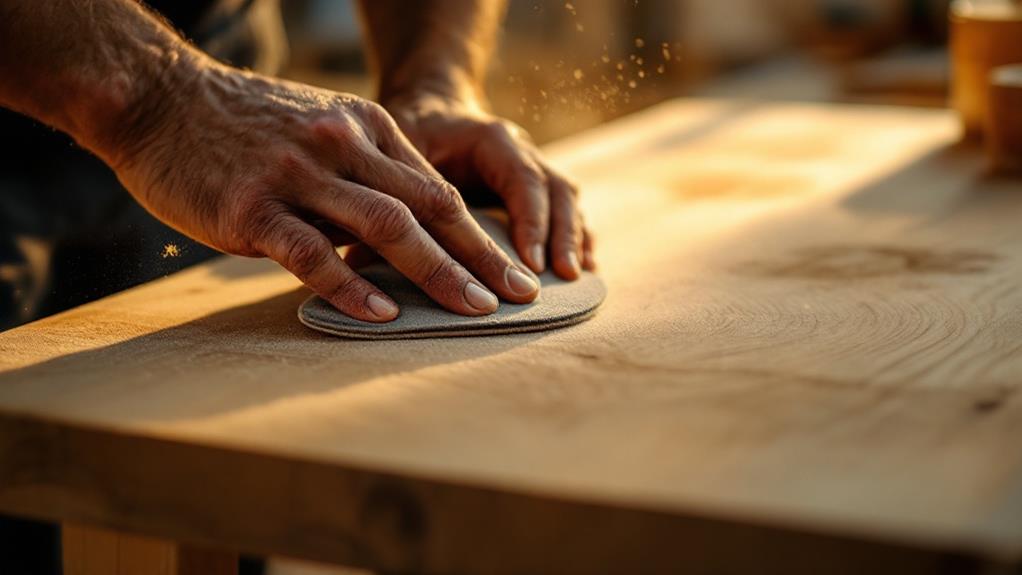
Next, examine the wood for any scratches, dents, or imperfections. You might need to sand the surface using sandpaper of varying grits, starting with a coarser grit and moving to a finer one. This process will smooth out the wood and create an even base.
After sanding, wipe the wood with a tack cloth to remove any fine dust particles left behind. It's vital to work with the grain of the wood during sanding and cleaning to maintain the wood's natural pattern and avoid unwanted marks.
If the wood has stains or discolorations, consider using a wood cleaner or conditioner to even out the tone before proceeding. Properly preparing the wood surface guarantees that the polish adheres well and highlights the wood's natural beauty.
Applying the Polish
Once you've prepared the surface, it's crucial to start applying the polish with care.
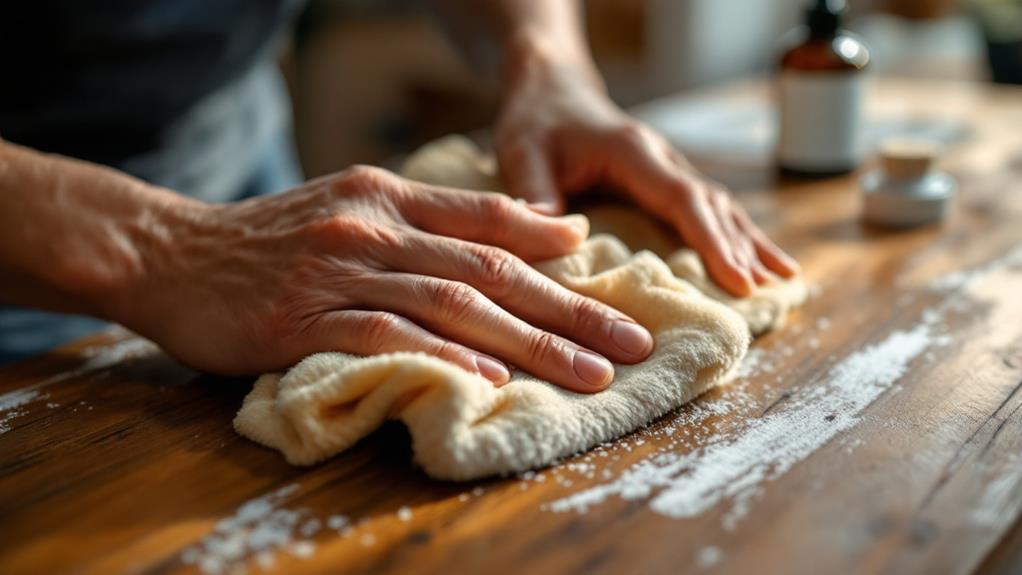
Begin by selecting the right polish for your wood type; oil-based polishes work well for bare wood, while water-based options are suitable for finished surfaces. Using a clean, lint-free cloth, apply a small amount of polish in a circular motion, guaranteeing even coverage. This method helps the polish penetrate the wood's grain, enhancing its natural beauty and providing a protective layer.
It's significant not to over-apply the polish, as excess can lead to a sticky residue. Instead, focus on applying thin, even coats. Allow each layer to dry completely before applying the next, which typically takes about 20 to 30 minutes, depending on the polish type. Patience in this step guarantees a more durable finish.
Consider the environment you're working in, as factors like humidity and temperature can affect drying times. Working in a well-ventilated area can help the polish cure properly.
Also, be mindful of the wood's age and condition, as older wood might require more delicate handling. By carefully applying the polish, you set the stage for a flawless finish.
Buffing to Perfection
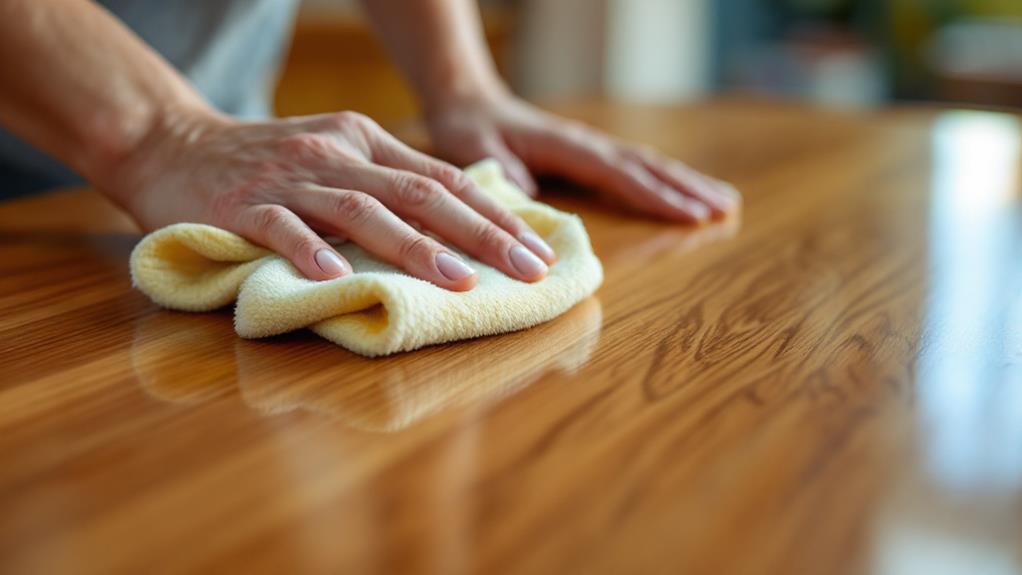
After you've applied the polish, it's time to bring out the wood's true luster through buffing. This step enhances the finish and guarantees an even, smooth surface. To start, use a clean, soft cloth, such as microfiber or cotton, which won't scratch the surface. Buffing requires a gentle, circular motion; this technique helps distribute the polish evenly and reduces the appearance of streaks or marks.
When buffing, consider these vital factors:
- Pressure: Apply light to moderate pressure to avoid damaging the wood.
- Speed: Move the cloth at a consistent pace to maintain an even finish.
- Direction: Follow the wood grain to enhance the natural beauty and prevent scratches.
Buffing should be thorough, covering the entire surface area without missing any spots. You may need to go over certain areas multiple times, especially if they appear dull.
This process not only brings out the shine but also protects the wood from future damage. Remember, patience is key; rushing the buffing process can lead to uneven results.