
To achieve a gleaming wood finish, start by selecting a polish that matches your wood type—choose oil-based for hardwoods like oak and water-based for softer woods such as pine. Prepare the surface by smoothing it out and removing any old finishes, then clean thoroughly to eliminate dust and grime. Apply the polish using a soft cloth, working it into the wood with circular motions. Buff the surface with a microfiber cloth, applying moderate pressure in circular motions for a uniform shine. Regular maintenance, like dusting and polish reapplication, will preserve the luster beautifully, further enhancing the finish. Explore more techniques to perfect this process.
Choosing the Right Polish

When it comes to choosing the right wood shine polish, you'll want to contemplate the type of wood and the desired finish. Different woods, like oak, mahogany, or pine, have unique characteristics that affect how they interact with polish. For instance, hardwoods like oak might require a heavier, oil-based polish to penetrate their dense grain, while softer woods like pine could benefit from a lighter, water-based option.
The desired finish also plays a significant role; whether you're aiming for a high-gloss shine or a muted, satin look will influence your choice of product.
Understanding the formulation of the polish is fundamental. Oil-based polishes are known for their deep, rich finish and are long-lasting, making them suitable for older or antique furniture. In contrast, water-based polishes dry quickly and are more environmentally friendly, ideal for modern pieces requiring frequent touch-ups.
Wax polishes, on the other hand, offer a protective layer, enhancing durability while providing a natural sheen. Consider the application method as well, as some polishes come in spray form for convenience, while others might require a cloth application for more control.
Preparing the Wood Surface
Before applying wood shine polish, it's crucial to properly prepare the wood surface to guarantee ideal results.
Begin by verifying the surface is smooth and free from any imperfections. If the wood has a rough texture, sand it lightly using fine-grit sandpaper. This process removes minor scratches and creates an even surface, improving the polish's adhesion.
Examine the wood for any existing finish or coating. If there's a previous layer of polish or varnish, you'll need to remove it to make sure the new polish adheres properly. Use a gentle stripper or sand the surface to eliminate old finishes, being careful not to damage the underlying wood.
Keep in mind that different types of wood may require specific preparation techniques, so always consider the wood's unique characteristics.
Next, inspect the wood for any cracks or dents. Fill these imperfections with wood filler, then sand the area smooth once it dries. This step guarantees a uniform surface for the polish application.
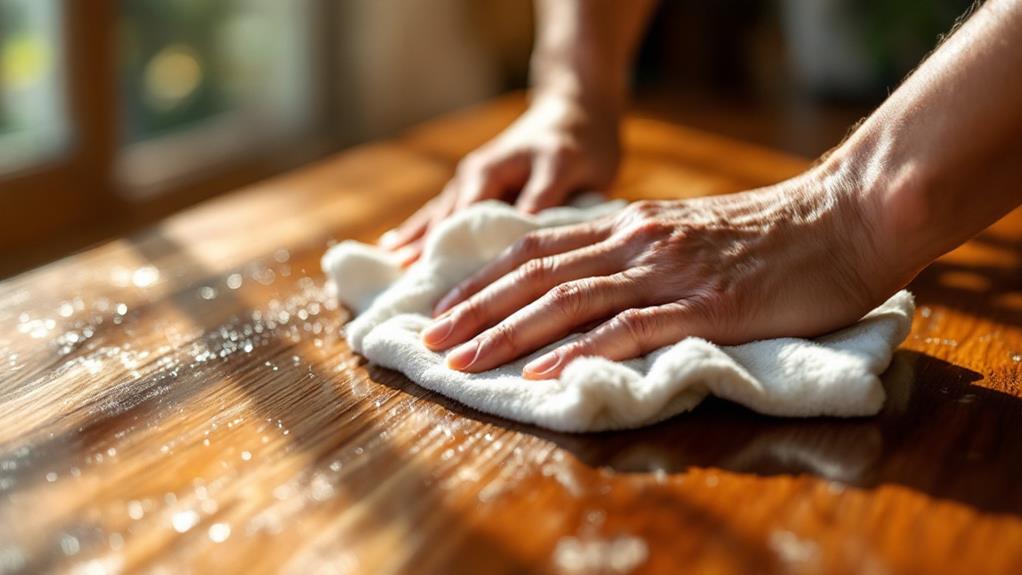
Cleaning Techniques
To guarantee the wood surface is perfectly clean before applying the polish, start by dusting it thoroughly. Use a soft, lint-free cloth or a microfiber duster to remove loose dust and debris. This step helps prevent scratches during the cleaning process and assures the polish adheres evenly.
Once dusted, focus on removing any sticky residue or stains that may have accumulated over time.
- Identify Stains: Examine the wood for any visible stains or spills. Use a mild detergent mixed with water to gently clean these areas. Apply the solution using a soft cloth, making sure you wring out excess moisture to avoid soaking the wood.
- Tackle Grease: If you encounter greasy spots, a mixture of vinegar and water can effectively break down the build-up. Dab the solution onto the affected area, and wipe it clean with a dry cloth.
- Rinse and Dry: After treating stains, rinse the wood with a cloth dampened in clean water to remove any soap or vinegar residue.
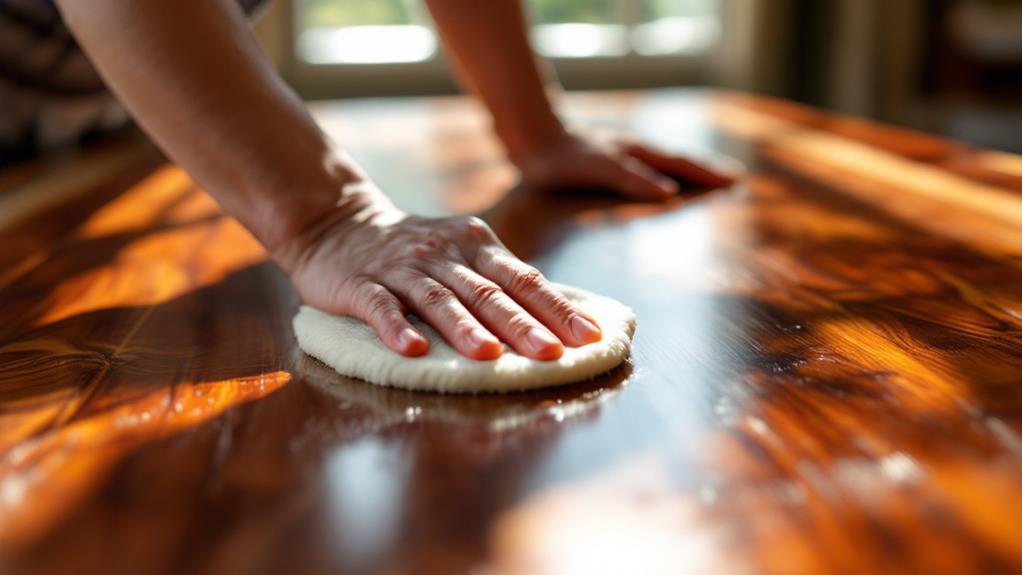
Applying the Polish
With the wood surface now clean and free from dust and stains, you're ready to apply the wood shine polish.
Begin by selecting a high-quality polish suitable for your specific type of wood. Different polishes contain various oils and waxes, so it's vital to match the polish to your wood's characteristics.
Using a soft, lint-free cloth, apply a small amount of polish to the cloth, rather than directly onto the wood. This helps you control the amount of polish applied and prevents oversaturation.
Gently work the polish into the wood using circular motions, ensuring even coverage. Applying too much pressure can cause streaks or uneven application, so maintain a consistent, gentle touch.
Pay particular attention to areas with intricate details, such as carvings or moldings, as these can easily be missed. For these sections, you might use a small, soft-bristle brush to reach into crevices.
Once the entire surface is covered, allow the polish to penetrate the wood for a few minutes. This absorption period is essential for the oils and waxes to nourish and protect the wood, enhancing its natural luster.
Avoid immediate handling to prevent smudging or uneven drying.
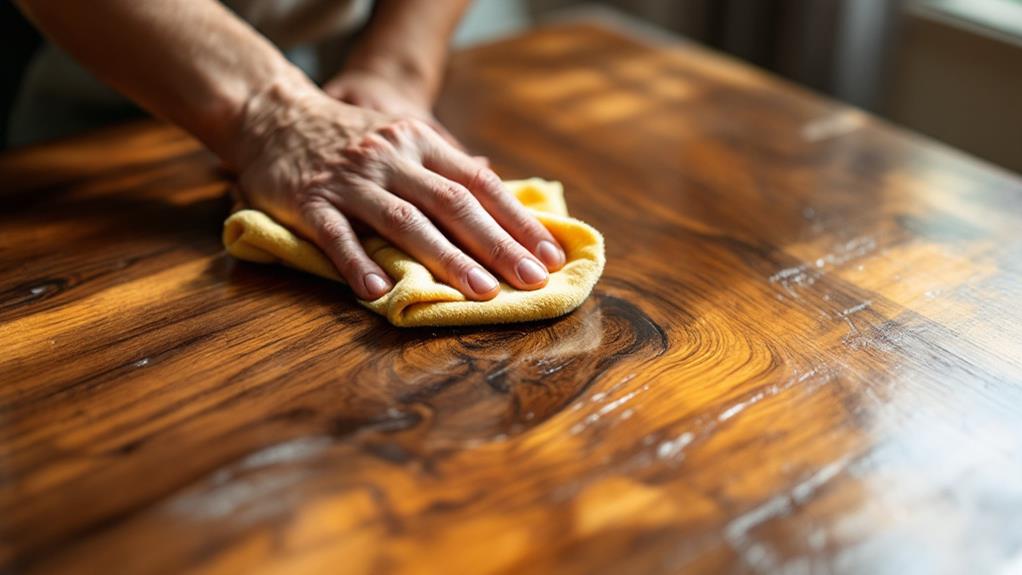
Buffing for Shine
Buffing transforms a dull finish into a brilliant shine, completing the polishing process.
It's crucial to use the right technique and tools to achieve the best results. Here's how you can effectively buff your wood surfaces for that gleaming finish.
1. Select the Right Cloth: Use a clean, soft cloth, preferably microfiber, to avoid scratching the surface.
Microfiber cloths trap dust and polish residue better than cotton, guaranteeing a smooth and shiny finish.
2. Apply the Correct Pressure: Buff the surface using moderate, even pressure.
Applying too much force can strip the polish, while too little mightn't remove excess residue. Aim for a balance that allows the polish to shine without damaging the wood.
3. Use Circular Motions: Move the cloth in circular motions to evenly distribute the polish and enhance the wood's natural grain.
This motion also helps to avoid streaks and guarantees a uniform shine across the surface.
Maintenance Tips
Now that you've achieved that gleaming finish, it's important to keep your wood surfaces looking their best with proper maintenance. Regular dusting is essential; use a soft, lint-free cloth or a microfiber duster to prevent scratches. This process removes surface particles that can dull the shine over time. Aim to dust your wood surfaces weekly, paying attention to corners and edges where dust tends to accumulate.
In addition to dusting, avoid direct sunlight exposure, as UV rays can fade and damage the wood. Use curtains or blinds to filter sunlight, protecting the wood from discoloration.
Also, regulate humidity levels in your home, ideally between 40-45%, to prevent wood from warping or cracking. A humidifier or dehumidifier can help maintain these levels as needed.
When it comes to cleaning, choose a mild, non-abrasive cleaner specifically designed for wood. Apply it with a damp cloth, followed by a dry cloth to prevent moisture damage.
Reapply wood shine polish every few months, depending on usage and environmental conditions, to maintain that high-gloss appearance. By following these maintenance tips, you guarantee your wood surfaces remain lustrous and well-maintained for years.